We use cookies to make your experience better. To comply with the new e-Privacy directive, we need to ask for your consent to set the cookies. Learn more


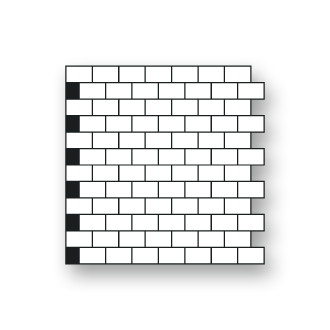
Ravenna
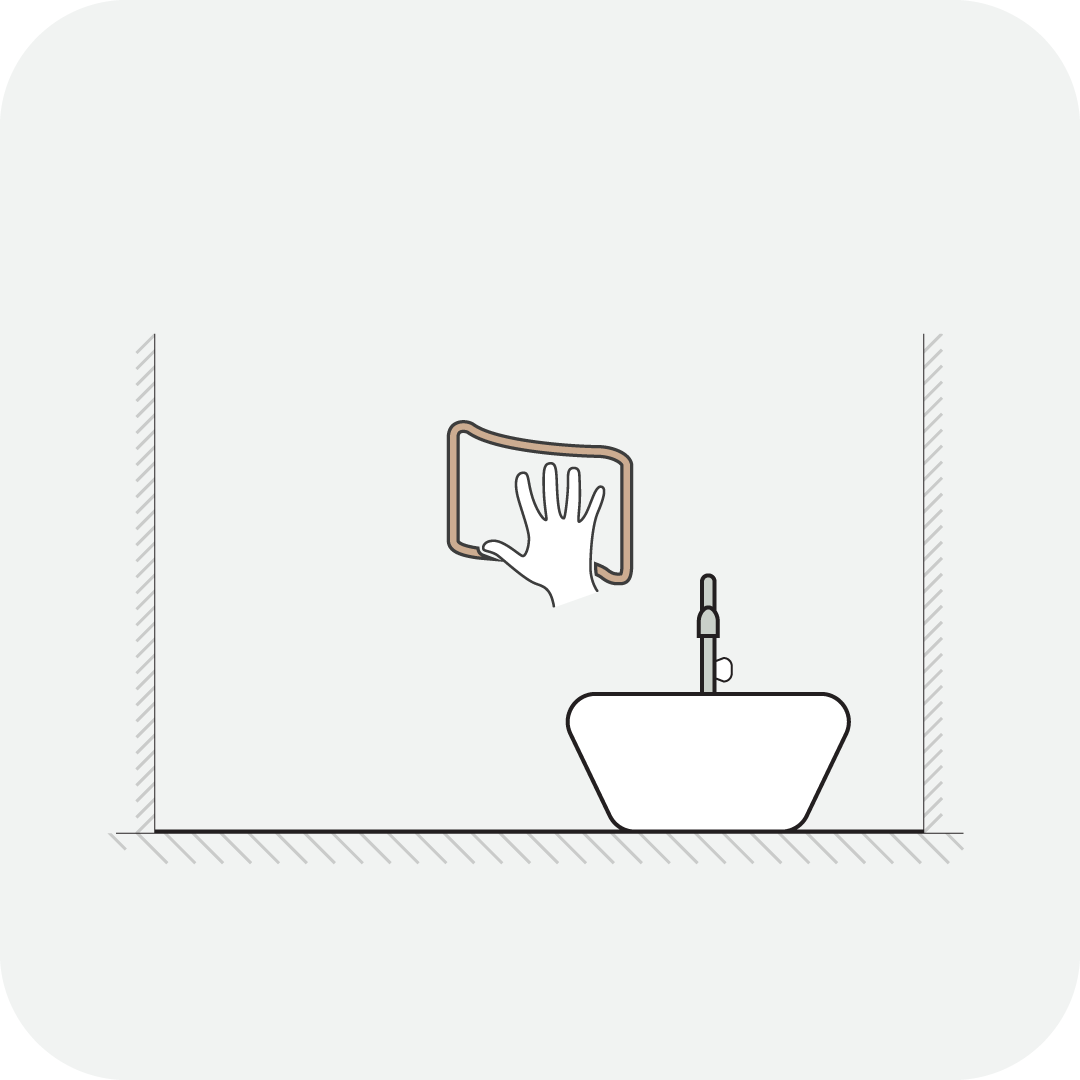
1. Clean the entire surface with a degreaser such as TSP (Trisodium Phosphate). It is not recommended to use dish soap for washing the walls.
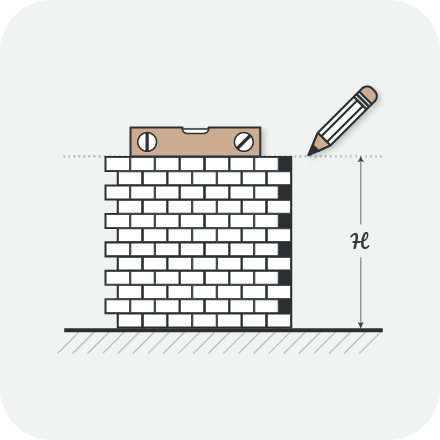
2. Mark your wall with a leveled line at the height of the 1st row of tiles to mark where the top of your tile will line up to.
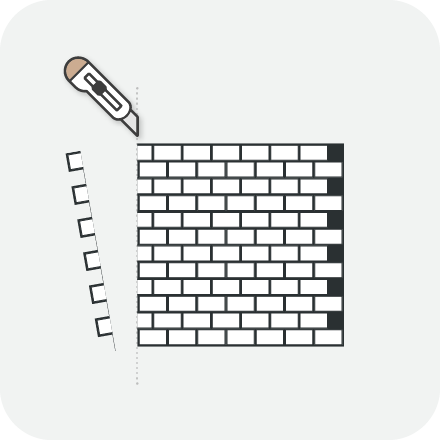
3. On the first tile of the row, cut the left excess using a box cutter.
4. Remove the protective film from the back of your tile and apply the tile to your wall on the horizontal line that you marked.
5. Apply one tile after another assuring that the tiles are straight and overlapped.

6. Repeat the process for the entire wall, removing the excess at the beginning and end of the rows if needed.
7. After 48 hours, your Smart Tiles have now become permanently applied to the wall. All you have to do now is sit back and enjoy!
Video Tips

 How to Install – Step by step
 How to Clean Your Wall Before Installing Smart Tiles
 How to Fit Smart Tiles Around an Electrical Outlet
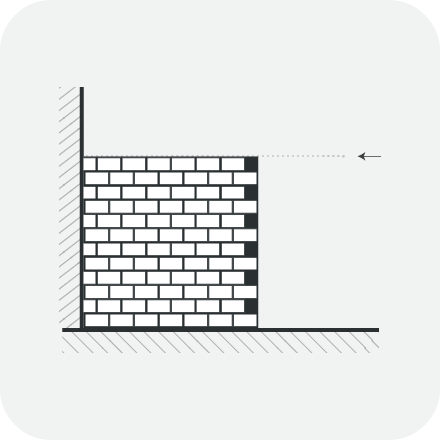
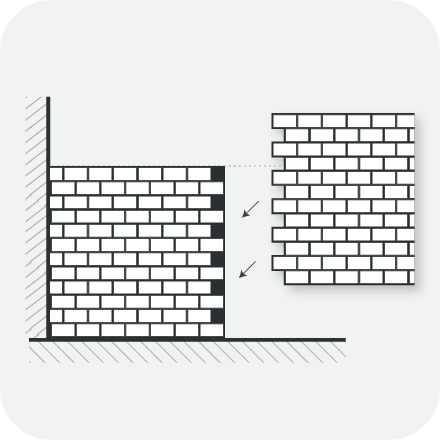
 How to Install Smart Tiles on a Wall with Corner (Convex)?
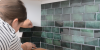 How to Install Smart Tiles on a Wall with Concave Corner
 How to install Smart Tiles Finishing Edge (Smart Edge)
 How to Remove Smart Tiles
 Recommended Smart Tiles Installation Tools
 Ideal Surfaces for Installing Smart Tiles