
In stock
SKU
SM7006G-04-QG
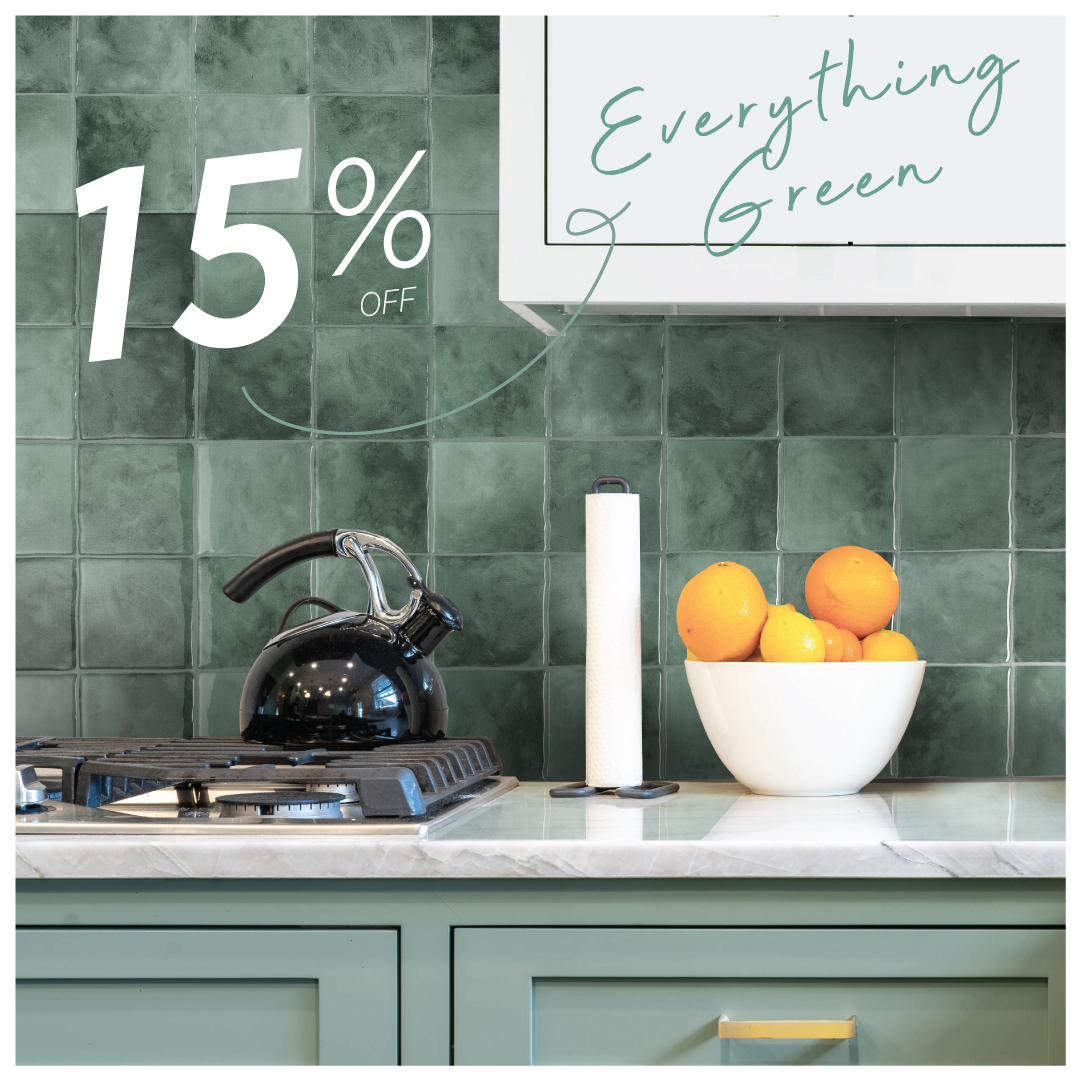
Kit-Kitchen Napoli (x4)
$52.98
Dimensions
*Liquidation Sale, until quantities last: No refunds, no returns, no exchanges.
Kit-Kitchen Napoli (x4) is rated
out of
5 by
1723.
The Kit-Kitchen Napoli incorporates inviting, warm tones of beige that are sure to make you smile.. A truly simple DIY project since all you have to do is peel and stick the Kit-Kitchen tiles behind your stove, under the range hood. Easy to install, and no glue or grout required.
| Colors | Beige |
|---|
Rated 4 out of
5
by
Kristyn from
Look beautiful
I bought this smart tile a month ago, for the backslash of my kitchen.
I really love how it look now that it is done. I was a little unsure when I one finished one row. It looks a lot better when you cover a space as appose to just one row.
The reason I did not give this product 5 stars was because the grout on the edges of the product were not always even, some pieces had wider excess grout which required me to cut the product down.
As well it would have been nice to have a instellation video just for this pattern, because the hexagon do not have straight sides to match up. Thus it takes a lot longer to install this pattern, as well as a lot more planing.
Date published: 2015-08-14
Rated 4 out of
5
by
ellietown from
Perfect coverup
Moved into an apartment with a hideous brown kitchen backsplash a month ago and immediately started looking for a solution, and found these! Ordered using the calculator on the website (it was a quite generous amount which meant I didn't have to panic about running out), the shipping was quite fast and the installation-once you figure out where to start and which direction to work, is super easy. It took me an afternoon for the whole kitchen. It's amazing how much brighter it looks! While its not as nice a finish texturally as real tile, for $150 and an afternoon, you can't ask for a much better or easier fix for ugly rental tile. I am super pleased I did this!
Date published: 2015-10-23
Rated 5 out of
5
by
truckeegal from
perfect for rv
I installed this in our RV around the sink as it was painted wood and I was always concerned about water damage. Its been in 2.5 years (installed 7/2013), standing up to use & temperature variation (-10 F - 105 + F as van parked outside). No peeling, yellowing or anything! Looks as good as the day I put it in. I did seal the bottom between the tile and the counter with clear silicone to prevent water seepage. It is lightweight and flexible. Flexibility is important in a 4x4 RV van, didn't want "tile" as it would pop off and add weight.
I misplaced my extra sheet and finally found it, along with the info to this web site so now I'm posting this review.
Date published: 2016-02-18
Rated 4 out of
5
by
Evalys from
pratique !
Bonjour, j'ai longtemps cherché ce que je pouvais mettre à la place d'un vieux (et vilain) carrelage qu'il aurait été trop compliqué d'ôter, jusqu'à ce que je découvre cet excellent compromis qui a résolu le problème. Sa fine épaisseur et sa souplesse ont facilité les choses, un bémol toutefois sur ce modèle tout blanc, très joli mais dont les jonctions se voient quand même suivant la lumière, même en étant soigneux dans la pose, ce qui je pense ne doit pas être le cas sur les modèles mosaïques colorés, raison pour laquelle je ne mets pas 5 étoiles, cela dit le résultat est très satisfaisant et l'entretien un jeu d'enfant. Merci à Smart tiles d'avoir rendu cela possible !
Date published: 2016-01-23
Rated 4 out of
5
by
chazmataz from
A NEAT WAY TO FINISH OFF YOUR SMART TILE !
I chose the dark grey as it seemed to be the right choice to go with the white tile.
I installed the edging before installing the last row of tile, using a pencil line to ensure straightness. It is important to make extremely precise measurements so the last tile fits snugly against the edging. If you try to hurry these last steps, you will end up with a sloppy looking job.
One thing I noticed with these strips is that the adhesive needs to have pressure applied after placing to ensure good adhesion. This was never a problem with the tile.
Date published: 2015-08-16
Rated 5 out of
5
by
Terry from
Love this product and this company
I bought the smart tiles and trim for my kitchen and it turned out FANTASTIC. It was so easy to install and I did not need to bother my husband with another one of "my projects". I get so many compliments when people see it. I am now working on the bathroom with another color and again, great results. This is a great company to do business with.....there was an error in one of the items shipped and the minute I contacted them, it was immediately corrected and the person I talked with was so apologetic. A+++++customer service! I hope that sometime in the future there are more color options available in the trim, but for now, I couldn't be happier. Thanks!
Date published: 2015-12-07
Rated 4 out of
5
by
Serendipity from
Peel and stick tile edging
not sure if I'd need this as I was doing 3 bathrooms and 3 kitchens, but I bought it just incase a finishing edge was needed. Ends up the tile look fine without, but once I put the finishing edge on I was happy I did. I bought enough to put along ceiling line, but didn't use it as it would emphasize the wonkiness of the ceiling. Just as a close at the edge of the shower and kitchen counter ends was perfect. Would recommend for finishing use. If doing just a small backsplash to a bathroom or kitchen that doesn't go all the way up the wall I'd highly recommend to use on sides and tops (much more professional finish).
Date published: 2019-04-16
Rated 5 out of
5
by
batrake from
Extra
J'ai commandé le mardi à 20h et ai été livrée le jeudi matin dans un créneau d'1 heure. Le produit est de bonne qualité, rend un super effet et facile à poser. Temps passé, 1 demie journée, décollage papier peint et nettoyage compris.On peut repositionner son carreau, si raccord pas parfait. Se découpe au ciseau et se nettoie facilement.Le calculateur est parfait aussi. Bref, je suis ravie et recommanderai ce prestataire avec plaisir. J'ai refait 2 murs autour du lavabo du cabinet de toilette de ma fille. Elle était très contente. Super produit.
Ma suggestion : des modèles plus colorés et créatifs à rajouter à votre catalogue.
Date published: 2016-08-19
Can you put this peel and stick tile over top of existing tile?
Hello , Thank you for your interest in Smart Tiles! Yes they can be installed over existing tiles as long as the surface is mostly smooth and without texture. You will also need to clean the surface with a degreaser product prior to installation. Do not hesitate for more information.
Date published: 2023-03-06
Can these be removed without damaging the surface it stuck to? I live in a rental and really want some real looking peel and stick tile.
Yes! They are easy to remove with little to no damage, depending on the surface they were installed on. To make it easy, use a blow dryer to warm up each tile to soften the adhesive and pull softly starting with the corners. Use a cleaning product to wash the wall and remove any excess glue left by the Smart Tiles.
Date published: 2022-11-21
I would like to use in my RV wall, I think made of some wood paneling and it is smooth, can those tiles stick to it? I read somewhere not in wood paneling, but I saw a video in an article using your product in a RV. So I am confused
Hello,
Thank you for your question! If the surface is smooth and without texture, you can install Smart Tiles! If the surface is porous, they will not adhere properly. But you can smooth the surface with sand paper and apply primer (if the surface is not too textured). Then wait 3 days for it to dry completely (21 day cure for regular paint since it is very humid). Clean your surface with degreaser, and install your Smart Tiles :-)
Date published: 2022-11-10
Are the dimensions for the entire kit? Or for each section of tile? The kit says x4, and I’m trying to figure out if it will fit under my range hood. Based on the photos it looks like it would, but the dimensions shown are way too small. Can you explain?
Hello, Thank you for your question! The dimensions are per sheet yes. So times 4.
Date published: 2022-11-16
Related Products
Check items to add to the cart or


Undecided?
We can help you choose the best model: [email protected]